
Perfect Prime Rib
Your Guide to Cooking Perfect Prime Rib
Updated April 2025

How to Make Perfect Prime Rib
Prime rib might sound intimidating, but don’t let this glorious hunk of meat scare you off—it’s truly one of my favorite things to cook. Not just because it’s rich, juicy, and show-stoppingly delicious (although my friends and I may love it more than the average group), but also because it always impresses when you're hosting.
After testing countless methods over the years, I’ve landed on the one that never fails: the reverse sear. It’s low-effort, high-reward, and delivers that perfect rosy-pink center every time. Whether you're cooking for a crowd or just feel like spoiling yourself, this recipe is your new prime rib go-to.
Bonus: I’ll be sharing some epic sides soon, inspired by the iconic House of Prime Rib.
🥩 Everything You Need to Know Before You Buy
Where should I buy prime rib?
You can find quality prime rib at local butcher shops, high-end grocery stores, or my favorites Costco and Whole Foods.
For special occasions, I do like to go all out and buy from a local butcher shop to reserve a well-marbled cut—they often have better aging and sourcing practices than grocery stores.
What should I look for when buying prime rib?
Marbling: Look for lots of fine, even marbling throughout the meat. This fat renders while cooking and adds tons of flavor and juiciness.
Bone-in vs. boneless: My opinion is always go for a bone-in cut! Bones help to regulate the temperature making for a more accurate cook. While people tend to think they yield more flavor (this is a myth) - I think it’s easier to cook bone-in and plus you get a more dramatic presentation and bones to gnaw on!
Color: The meat should be a deep, rich red with creamy white fat.
Grade: If available, go for USDA Prime. USDA Choice is also good—just look for solid marbling.
How much prime rib should I buy per person?
Bone-in: Plan for 3/4 lb to 1 lb per person. Generally, 1 lb per guest will be more than enough. However, if I’m serving more than 10 ppl, (think 10-20 people), anything over 12-14 lbs should do the trick. This will give you leeway if some people don’t eat meat, or some people eat 3-4 slices. Yes, there are people who can eat this much meat. I’ve seen it with my own two eyes.
What’s the deal with dry aging?
Dry-aged beef has intensified flavor, it’s not necessary for an excellent result. You’ll still get juicy, tender meat with the right cooking technique and seasoning. If you want to dabble into the dry-aged world, I recommend buying a dry-aged piece from your local butcher shop, especially for your first time. Additionally, while you won’t achieve the same results as an officialy dry aged piece of prime rib, you can salt your prime rib, leave it uncovered in the refrigerator for up to 4 days before cooking to help dry out the surface completely resulting in the perfectly browned crust.
Can I cook prime rib ahead of time?
Prime rib is best served freshly roasted and rested, but you can prep ahead. Dry brine the meat up to four days in advance and let it come to room temp before roasting (for large hunks of meat, this can take up to 3 hours). Leftovers reheat beautifully for sandwiches, hash, or steak and eggs.
Should I tie the roast or leave it as-is?
If your roast isn’t already tied, ask your butcher to do it. Tying helps the roast cook evenly and hold its shape.
Perfect Prime Rib Recipe
Prep Time: Up to four days, Cook Time: Varies on the weight of your prime rib
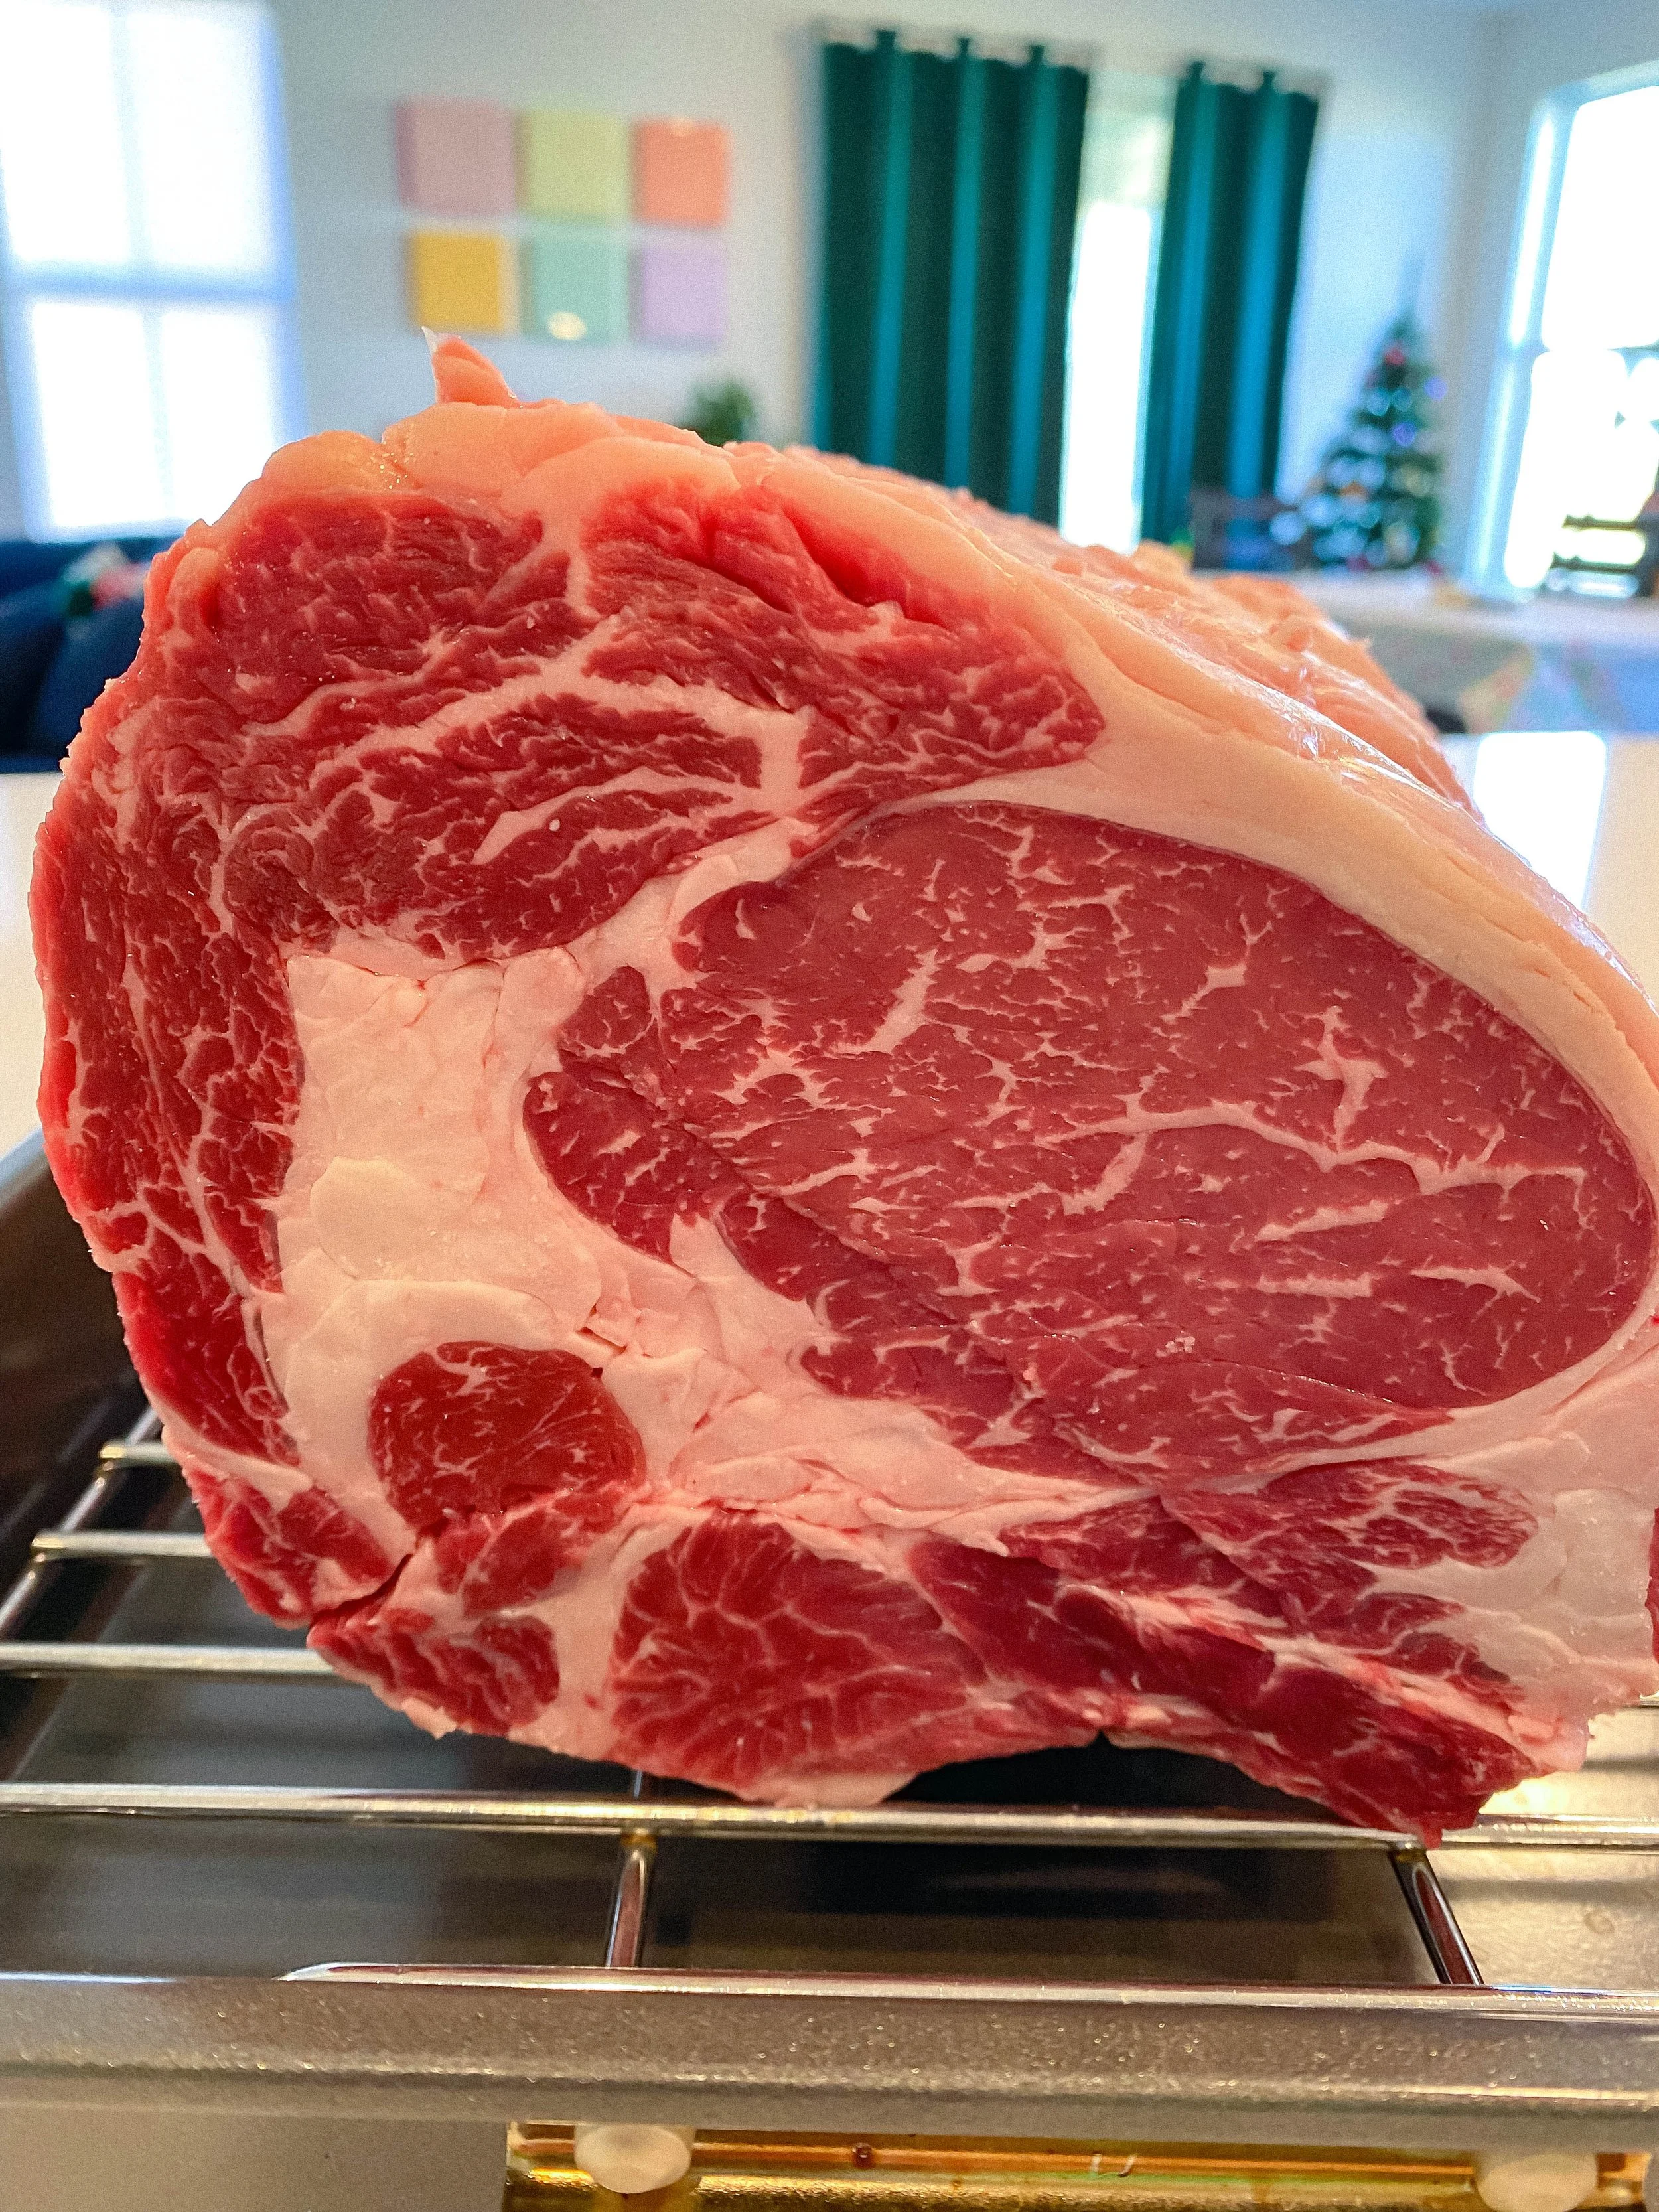
What to look for when purchasing your roast, deep red color, rich marbling and a nice even fat cap at the top.

What the roast looks like after 4 days of sitting uncovered in the fridge! Ready to prep.
Ingredients
Bone-in prime rib
Extra virgin olive oil or butter (room temp and easily spreadable)
5-6 garlic cloves
Kosher salt (do not use table salt!)
Freshly cracked black pepper
A really good meat thermometer - preferably one that stays inside and beeps once it hits your desired temp.
Directions
One to four days prior to cooking: Dry off your meat with a paper towel. You want it as dry as possible! Salt the meat on all sides and put in uncovered in the fridge at least one day before you cook and up to four days. Tip: Make sure you have enough fridge space!
Early morning the day you plan to cook:
Pull the roast out of the fridge at least 2-3 hours in advance of cooking. The meat should come to room temp to ensure even cooking. This takes longer for larger roasts.
Once it’s at room temp season, lightly oil or butter all sides. Then generously season with Kosher salt and freshly cracked black pepper. Tip: DO NOT USE table salt! Table salt is much saltier than Kosher salt and generally should not be used for cooking. Because prime rib is a higher quality of meat, Kosher salt and pepper, plus some garlic will suffice! You can also stick a few garlic cloves or minced garlic in the tops cracks of your roast, slide some under the fat cap too.
Pre-heat the oven to the lowest temp which can be anywhere in the range of 150°F-250F°. You’re going to slowly roast this until it hits your desired temp - temps are listed below)
An oven at 150F°, typically takes 5.5-6.5 hours
An oven at 250F°, typically takes 3.5-4 hours
Plan accordingly!
Place the roast, rib side down, and fat cap side up, in your shallow roasting pan. Tip: Oven temps vary so instead of relying on complicated lb per minute calculations, use a meat thermometer! Put it in the oven, with a meat thermometer inserted into the deepest part of the meat, without touching a bone.
Cook until your meat reaches you desired temp*: For an oven set at 250° - plan for 3.5 to 4 hours of cooking time.
Rare: 120-125°F (49-52°C)
Medium-rare: 130°F (54°C)
Medium to Medium-well: 135°F (57°C)
Once you’ve reached the desired temp, take the roast out and make an aluminum foil tent around it. Let this rest for at least 30 minutes and up to an hour and a half.
While the meat is resting save all the juices from the meat to make au jus. I like to reserve it for au jus rather than gravy because in the Learn section, I’ll show you a great non-dripping gravy recipe that I think is better than a gravy using meat. Or, if your family is a bunch of fatties like mine, use the turkey drippings for classic gravy. Sorry for calling you out fam!
About 15 minutes before you’re ready to eat, crank the oven to 500° and remove the foil. Put the roast back in and cook for 5-10 minutes until a deep crust develops. Carve immediately after and dig in!
*temperatures taken from J. Kenji Lopez-Alt’s Food Lab website.